Skip to content
There is a massive difference between a room that looks DIYed and one that boasts a crisp, high-end finish. Learning how to paint a room like a pro isn’t just about picking a trendy color; it’s about mastering the sequence of events that leads to sharp lines and a smooth surface. Whether you are refreshing a tired guest room or tackling a bold accent wall, the secret lies in the details that most amateurs skip.
By understanding how to properly paint a room, you save yourself from common headaches like lap marks, peeling paint, and messy edges. If you are ready to stop just painting and start creating a masterpiece, this guide will walk you through the professional-grade steps to transform your space with confidence.
Tools and Materials You Need to Paint a Room Like a Pro

To achieve a professional painting finish, you can’t rely on bargain-bin supplies. The right gear does half the work for you, and with the right guidance, you can handle the rest. Here’s what you need to have on hand if you want to know how to paint a room professionally!
Essential Painting Tools
- High-Quality Brushes: An angled 2.5-inch sash brush is a must for cutting in.
- Pro-Grade Roller Covers: Use a 3/8-inch nap for smooth walls; a thicker nap is for textured surfaces.
- Painter’s Tape: Look for bleed-blocking technology to ensure those crisp lines.
- Drop Cloths: Canvas is superior to plastic because it absorbs drips and isn’t slippery.
Recommended Paint Supplies
For flawless results in professional room painting service, ensure you have a sturdy paint tray, liners for quick color changes, and an extension pole for your roller. An extension pole isn’t just for high spots, it gives you better leverage and a more even stroke across the entire wall.
Choosing the Right Paint Finish
When learning how to paint a room like a pro, match the sheen to the room’s traffic.
- Flat/Matte: Great for hiding imperfections in low-traffic areas like bedrooms.
- Eggshell/Satin: The Goldilocks of finishes, easy to clean and perfect for living rooms.
- Semi-Gloss: Best for moisture-heavy areas like kitchens and bathrooms.
Step 1: Prepare the Room Before Painting
Preparation is 70% of the job. Professionals spend more time with a sander and a rag than they do with a brush.
Move or Protect Furniture
Clear the area completely. Move the furniture to the center of the room and cover it with heavy-duty plastic. Remove all outlet covers and switch plates, painting around them is a hallmark of an amateur job.
Clean the Walls
Paint will not stick to dust or oils from fingers. Use a mixture of mild soap and water to wipe down the walls, paying special attention to areas around door frames and light switches.
Repair Wall Imperfections
Use a putty knife to fill every small nail hole and dent with a spackle. Once dry, sand the spots flush with the wall. For a truly professional result, spot prime these repairs so the patch doesn’t flash (show through) the final coat.
Step 2: Protect Edges and Surfaces
Apply your painter’s tape in short, overlapping strips rather than one long pull. This prevents the tape from stretching and lifting. Press the edges down firmly with a clean putty knife to seal the bond, ensuring no paint creeps underneath.
Step 3: Apply Primer for a Professional Finish
Do professional painters use primer? Almost always. Primer isn’t just about covering old color; it creates a uniform tooth for the new paint to grab onto. It prevents the drywall from soaking up the first coat unevenly, which is the leading cause of a splotchy finish.
Step 4: Cut in the Edges Like a Pro
Cutting in means painting the perimeter where a roller can’t reach. Dip your angled brush only two inches into the paint and tap off the excess. Instead of trying to hit the corner exactly on the first pass, start an inch away and walk the brush toward the line. This prevents a heavy bead of paint from pooling in the corner.
Step 5: Roll Paint on the Walls
Use the “W” or “M” pattern. Start in a 3×3-foot section and roll a large “W” on the wall, then fill it in without lifting the roller. A second coat adds depth of color and hides any minor inconsistencies from the first pass. Wait at least 2–4 hours between coats to ensure the first layer has set enough to receive more paint.
Step 6: Inspect and Touch Up the Walls
Once the walls are dry, use a bright work light to inspect the surface at an angle. This will reveal any drips or thin spots you missed. Blend touch-ups by using a small foam roller or by dabbing with a brush to mimic the surrounding texture.
Common Mistakes to Avoid When Painting a Room
Even with the best tools, a few simple oversights can compromise your results.
- Overloading the Brush: More paint isn’t better. Dipping too deep leads to drips and fat edges that are hard to fix.
- Pulling Tape Too Late: Remove tape while the paint is still slightly tacky. If it’s bone-dry, use a utility knife to score the edge first so you don’t peel the new paint.
- Stretching the Paint: When the roller starts to make a tearing sound, reload it. Stretching paint leads to splotchy, thin areas.
- Ignoring Humidity: Extremely humid days slow down drying times, which can lead to bubbles or a tacky finish.
When Should You Hire a Professional Painter?

While DIY can be rewarding, some situations call for a higher level of expertise.
Large or Complex Rooms
Vaulted ceilings, intricate crown molding, or multi-story foyers require specialized equipment and safety gear that most homeowners don’t have.
Damaged or Textured Walls
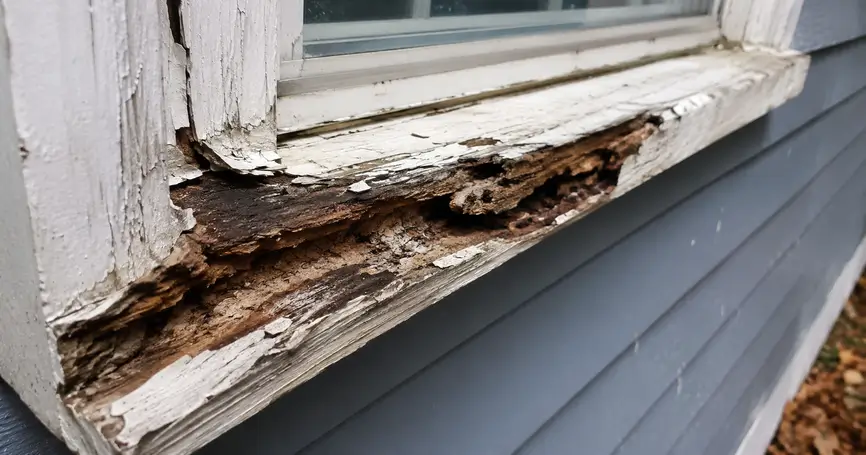
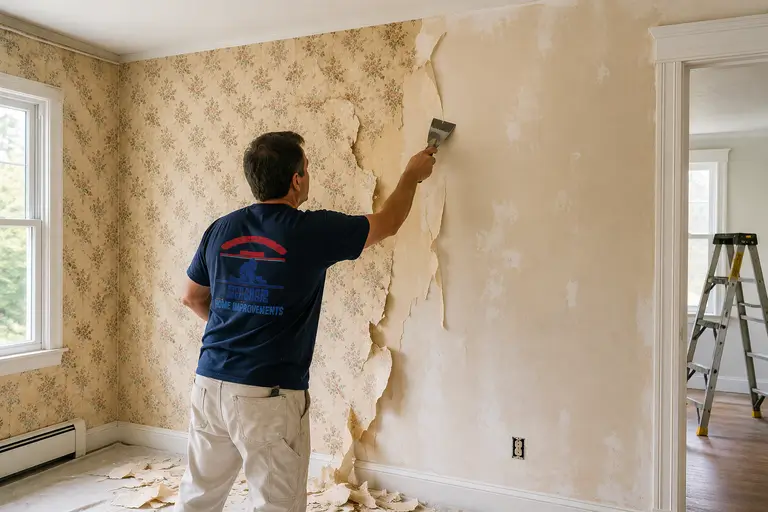
If your walls have significant drywall damage or old popcorn textures that need removal, the repair work alone can take days for an amateur.
Limited Time or Experience
A professional room painting team can finish what might take a homeowner three weekends in a day. If you value your time and want a guaranteed showroom finish, hiring the experts is the best path.
High-End Finishes or Specialty Paint
Techniques like faux finishes, intricate stenciling, or metallic coatings require immense precision and the right tools. These high-end applications are unforgiving; any mistake in timing or stroke is immediately visible. Avoid costly material waste by enlisting a professional for these complex projects.
FAQs
1. How long does it take to paint a room?
Typically, a standard-sized room takes 4 to 8 hours for a DIYer, including prep and a single coat. However, when you factor in a second coat and necessary drying times, it’s usually a two-day commitment. A professional crew can often cut this time in half while delivering a higher level of detail.
2. What is the best technique when learning how to paint a room like a pro?
The most effective technique is the “W” or “M” method. Load your roller evenly and apply the paint in a large zigzag pattern, then fill in the gaps without lifting the roller. This ensures even distribution and prevents lap marks. Always keep a wet edge to blend sections seamlessly.
3. Do I really need to use a primer?
Yes, but it’s tricky. Paint early in the morning or late in the afternoon to avoid blistering heat. Use high-quality paint specifically designed for hot weather, and apply it in small sections to prevent rapid drying. Keep surfaces moist and stay hydrated. With the right prep and pace, you can still get great results.
4. How long should I wait between coats of paint?
Most latex paints are dry to the touch within an hour, but you should wait at least 2 to 4 hours before applying a second coat. Painting too soon can pull up the first layer, leading to clumps and an uneven texture.
5. How do I get a straight line at the ceiling without tape?
Professional painters often cut in by hand using a high-quality angled sash brush. Dip only the first two inches into the paint, start slightly away from the edge to unload the bulk of the paint, and then slowly guide the brush along the line in one steady motion.
6. Why does my paint look splotchy after it dries?
Splotchiness, or flashing, usually occurs because the wall wasn’t primed or the paint was applied unevenly. It can also happen if you stretched the paint too far with the roller instead of reloading it frequently
Final Thoughts: Achieve Professional Painting Results at Home
Mastering how to paint a room like a pro comes down to patience and using the right techniques. By taking the time to prep the surface, using high-quality tools, and following a structured process, you can achieve a finish that looks like it was done by a veteran crew.
Need a professional finish? Let the experts handle it! Quality Preferred Painting delivers flawless, long-lasting results for homes and businesses.
- Experienced professional painters.
- High-quality materials.
- Clean, precise, and reliable service.
Contact Quality Preferred Painting today for a free estimate!